Sending, Scheduling, and Testing Campaigns
Tutorial 19.3: Sending, Scheduling, and Testing Campaigns
Introduction
Before you send a campaign to hundreds of customers, you'll want to make sure it looks right. Luminate lets you send a test message to yourself, schedule a campaign for the perfect time, or send immediately when you're ready. This tutorial covers the full sending workflow — from testing your message to tracking what happens after you press Send.
Who this is for: Salon owners, admins, and managers sending marketing campaigns.
What you'll learn:
- How to send a test message to preview your campaign
- How to send a campaign immediately
- How to schedule a campaign for a future date and time
- How to cancel a scheduled campaign
- How to duplicate a sent campaign for reuse
- What happens behind the scenes when a campaign is dispatched
Time to complete: 10-15 minutes
Prerequisites
Before you begin, make sure you have:
- A campaign saved as a draft with a message body (see Tutorial 19.1 for creating campaigns)
- An audience defined with at least one matching recipient (see Tutorial 19.2 for segment filters)
- For testing: your own email address (for email campaigns) or phone number (for SMS campaigns)
Step-by-Step Instructions
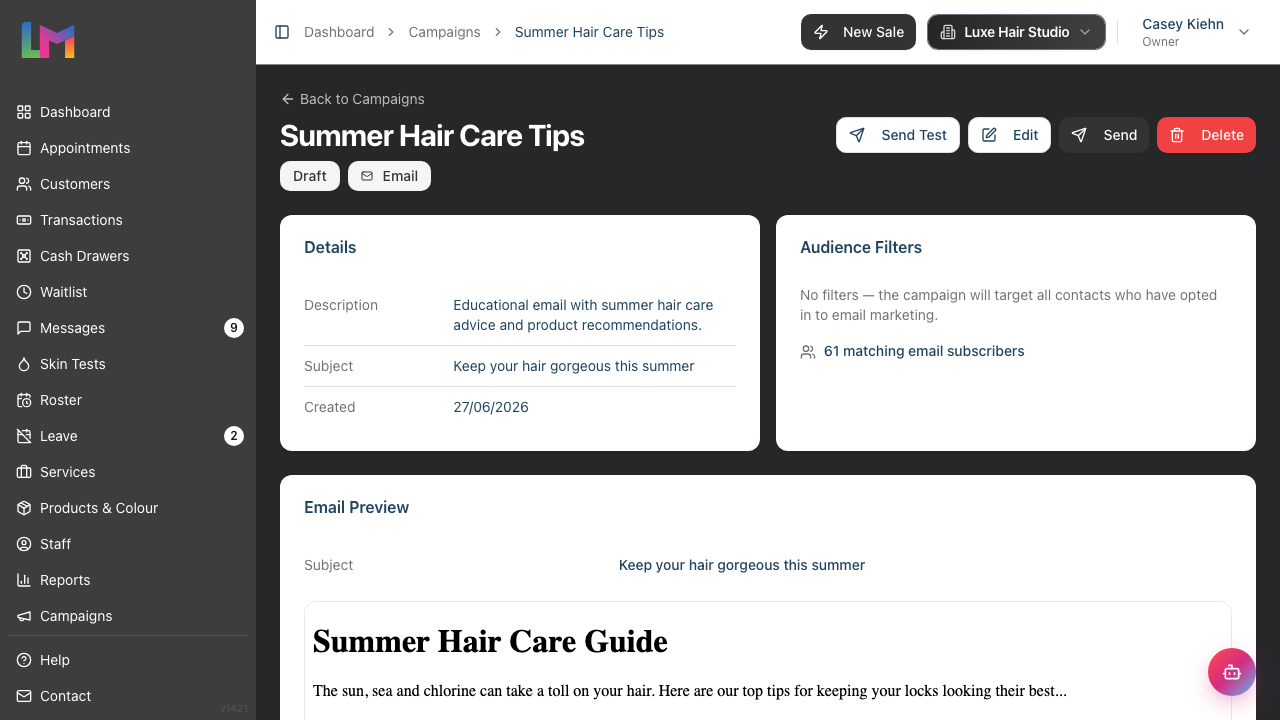
Step 1: Navigate to Your Campaign
- Go to the Campaigns page from the sidebar
- Click on the campaign you want to send
- You'll see the campaign detail page showing its name, status, channel, message preview, audience filters, and available actions
Step 2: Send a Test Message
Before sending to your full audience, test the message with yourself:
- On the campaign detail page, click the Send Test button (available for Draft and Scheduled campaigns)
- A dialog appears with the title "Send Test" and the description "Send a test email to preview the campaign" (or "Send a test SMS to preview the campaign" for SMS campaigns)
- Enter your email address (labelled "Email address") or phone number (labelled "Phone number") in the input field
- Note the message at the bottom: "The message will be prefixed with [TEST] and use sample customer data."
- Click Send Test
![Send Test dialog with the email address field and the [TEST] prefix note](/docs-image/section-19-marketing-campaigns/screenshots/19.3-02-send-test-dialog.png)
The test message will arrive in your inbox (or on your phone for SMS) prefixed with [TEST] so you can clearly identify it as a test. For email campaigns, the subject line is also prefixed with [TEST]. The message uses sample customer data for personalisation tokens — for example, {first_name} will be replaced with a real customer's first name from your salon.
You can send as many test messages as you like before sending the real campaign.
Step 3: Send a Campaign Immediately
When you're ready to send:
- On the campaign detail page, click the Send button (for draft campaigns) or Reschedule (for scheduled campaigns)
- You'll be taken to the Send Campaign page (or Reschedule Campaign page)
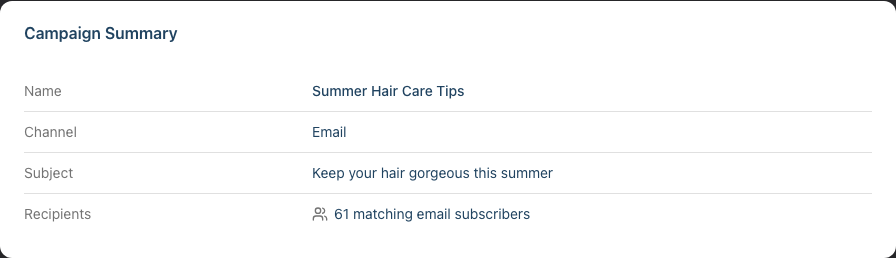
- Review the Campaign Summary card which shows:
- Name — your campaign name
- Channel — Email or SMS
- Subject — the email subject line (email campaigns only)
- Recipients — the number of matching customers
- For SMS campaigns: SMS balance, Segments per message, and Estimated cost (see Tutorial 19.4)
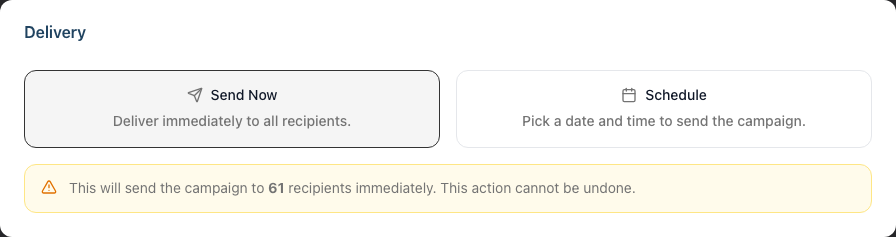
- Ensure Send Now is selected (it's the default — you'll see the Send Now button highlighted)
- Read the warning: "This will send the campaign to X recipients immediately. This action cannot be undone."
- Click Send Now to dispatch the campaign
The Campaign Summary card below the delivery options lets you double-check the details before sending:
The campaign status will change to Queued, then Sending as messages are delivered, and finally Sent once all messages have been processed.
Step 4: Schedule a Campaign for Later
To send at a specific date and time:
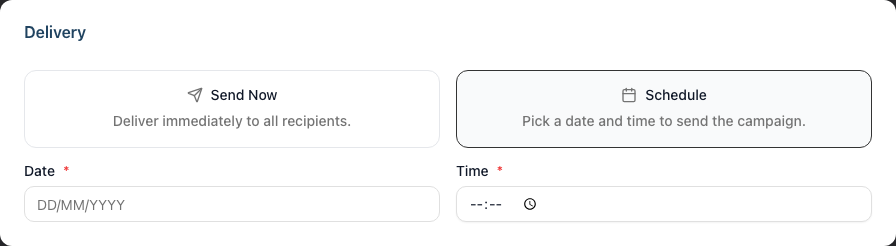
- On the Send Campaign page, click the Schedule button (next to Send Now)
- Two fields appear: Date and Time
- Select the date you want the campaign to go out
- Set the time for delivery
- Click Schedule to confirm
The campaign status changes to Scheduled. At the scheduled time, Luminate will automatically queue and send the campaign.
Tip: Schedule campaigns during business hours when customers are more likely to see them. Avoid very early mornings or late evenings.
Step 5: Cancel a Scheduled Campaign
Changed your mind? You can cancel a scheduled campaign before it sends:
- Go to the campaign detail page
- Click Cancel Schedule
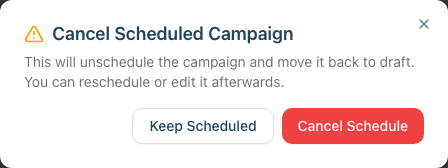
- A confirmation dialog appears titled "Cancel Scheduled Campaign" with the message: "This will unschedule the campaign and move it back to draft. You can reschedule or edit it afterwards."
- Click Cancel Schedule to confirm, or Keep Scheduled to leave it as is
The campaign returns to Draft status. You can edit it, reschedule it, or delete it.
Step 6: Duplicate a Sent Campaign
Want to reuse a campaign that worked well? Duplicate it:
- Go to the detail page of a Sent campaign
- Click the Clone button
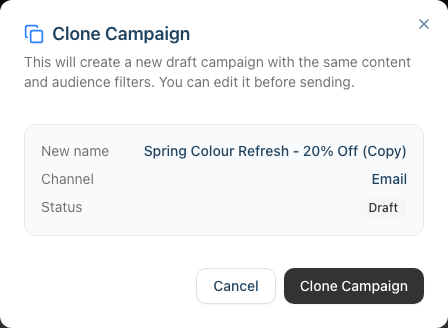
- A dialog appears titled "Clone Campaign" with the description: "This will create a new draft campaign with the same content and audience filters. You can edit it before sending." It shows the new campaign name (your original name with "(Copy)" appended), the channel, and the status set to "Draft"
- Click Clone Campaign to confirm
A new draft campaign is created with the same message content and audience filters. You'll be taken to the edit page where you can adjust the name, message, or filters before sending.
Step 7: Understand What Happens Behind the Scenes
Here's what happens when you send a campaign:
- Queued — the campaign has been submitted to Luminate's processing queue and is waiting to be picked up
- Sending — Luminate builds the recipient list from your segment filters, then dispatches an individual message to each recipient. Each message is personalised with the customer's details and sent via the appropriate channel
- Sent — all messages have been processed. Some may have been successfully delivered, some may have been suppressed (e.g., customer opted out), and some may have failed
During the Sending phase, you can monitor progress on the campaign detail page where statistics update as messages are processed. See Tutorial 19.5 for understanding delivery reports.
Common Pitfalls
"I sent a campaign but my test showed the wrong content"
Make sure you saved your latest changes before sending the test. If you edited the message after saving the draft, click Save Draft first, then send the test. Tests use the saved version, not unsaved changes.
"I scheduled a campaign but it didn't send at the right time"
Campaign scheduling uses your salon's timezone setting. Check that your salon's timezone is configured correctly in your salon settings (see Tutorial 13.2). The time you select is interpreted in your salon's timezone.
"I can't cancel my campaign — it's already sending"
Once a campaign moves from Scheduled to Queued or Sending, it cannot be cancelled. Only Scheduled campaigns can be cancelled. If a campaign is actively sending, you'll need to wait for it to complete.
"I clicked Send but got an error about message content"
If your campaign has no message body, clicking Send will return you to the campaign detail page with an error message asking you to add content first. Go back and edit the campaign to write your message. On the Send page itself, the Send Now button is disabled for SMS campaigns with insufficient credits — see Tutorial 19.4.
Tips and Best Practices
- Always send a test first — it takes seconds and can save you from embarrassing typos or formatting issues going out to your entire customer list
- Schedule for optimal times — mid-morning (10-11am) and early afternoon (1-2pm) tend to get the best open rates for salon marketing
- Use descriptive names — when you duplicate campaigns, rename them clearly (e.g., "March VIP Offer" instead of "February VIP Offer (Copy)") so your campaign list stays organised
- Check the recipient count — before sending, always verify the recipient count on the Send page matches your expectations. If it seems wrong, go back and review your filters
- Don't send the same campaign twice — if you need to resend to the same audience, duplicate the campaign first. This keeps your reporting clean and avoids confusing customers
Related Tutorials
- Tutorial 19.1: Introduction to Marketing Campaigns — creating campaigns and understanding the builder
- Tutorial 19.2: Targeting the Right Customers with Segment Filters — building your audience
- Tutorial 19.4: SMS Campaigns and Credit Management — important details for SMS campaigns
- Tutorial 19.5: Campaign Delivery Reports and Tracking — understanding what happened after sending
Frequently Asked Questions
Can I send a campaign to a single customer?
Campaigns are designed for reaching groups of customers. For individual messages, use the messaging inbox instead (see Tutorial 10.4). If you only have one customer matching your filters, the campaign will work — but the messaging inbox is more appropriate for one-to-one communication.
What happens if I schedule a campaign and then edit it?
You can't edit a scheduled campaign directly. You need to cancel the schedule first (which returns it to Draft status), make your edits, and then reschedule it.
How long does it take for a campaign to send?
It depends on the number of recipients. Small campaigns (under 100 recipients) typically complete within a few minutes. Larger campaigns may take longer as messages are sent individually to ensure reliable delivery.
Can I see who received the test message?
Test messages are sent directly to the email address or phone number you enter — they're not tracked in the campaign's delivery report. The test uses sample customer data for personalisation tokens.
What happens if my campaign fails part way through sending?
If the dispatch process encounters a technical error, the campaign is automatically returned to Draft status so you can retry. Individual message failures (to specific customers) are recorded in the delivery report — the campaign itself continues sending to the remaining recipients.
Can I duplicate a draft campaign?
No, only Sent campaigns can be duplicated. If you want to reuse a draft, simply edit it directly.
Last Updated: June 2026